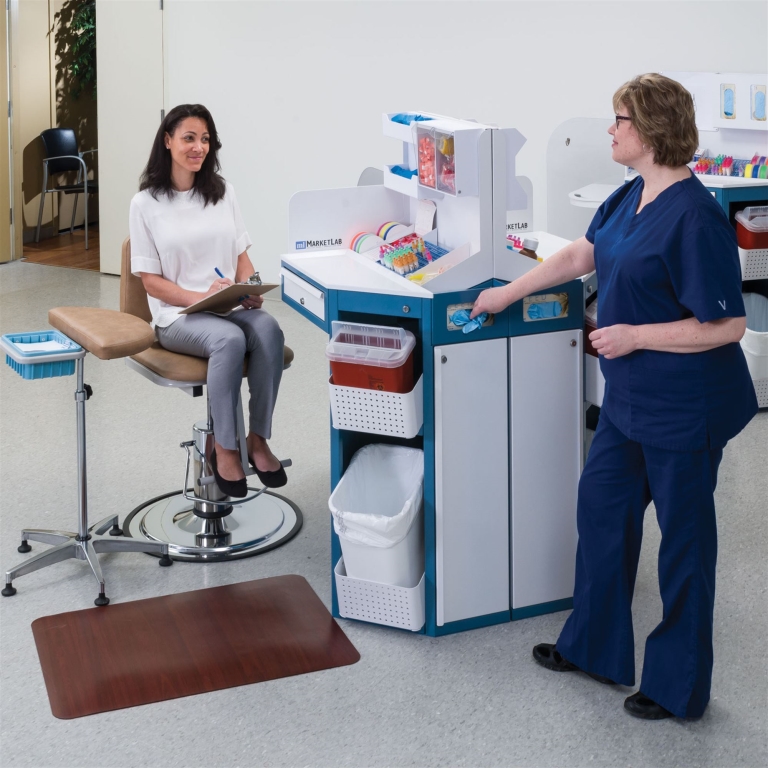
Master the Art of Phlebotomy: Step-by-Step Guide to Safe and Effective Blood Collection
Embarking on a career in healthcare often involves mastering phlebotomy-the art and science of blood collection. Whether you’re a budding medical professional, a phlebotomy student, or a seasoned technician looking to refine your skills, understanding the proper techniques for blood draws is crucial. proper phlebotomy practice ensures patient safety, reduces discomfort, and guarantees accurate lab results. In this comprehensive, step-by-step guide, you’ll learn everything you need to know to perform safe and effective blood collection like a pro.
Introduction to Phlebotomy
Phlebotomy is an essential component of diagnostic testing that involves drawing blood for laboratory analysis. It requires a combination of technical skill, patient communication, and adherence to safety protocols. Proper training and practice are vital to minimize risks such as hematoma, infections, or accidental injuries. this guide aims to provide clear, actionable steps to help you excel in blood collection procedures while emphasizing safety and patient comfort.
Benefits of Mastering Safe Phlebotomy Techniques
- Accurate Test Results: Proper blood collection techniques lead to reliable laboratory data.
- Patient Comfort and Trust: Gentle and confident procedures reduce patient anxiety.
- Enhanced Safety: Following safety protocols minimizes risk for both patients and healthcare providers.
- Professional Confidence: Skilled phlebotomists are highly valued in healthcare settings.
Essential Equipment for Blood Collection
Before starting a blood draw, gather all necessary tools to ensure a smooth procedure:
- Tourniquet
- Alcohol swabs or antiseptic wipes
- Needles (various sizes, typically 21-23 gauge)
- Vacutainer tubes or blood collection tubes
- Needle holder or holder with rubber cuff
- Gauze pads or cotton balls
- Adhesive bandages or tape
- Gloves (disposable and sterile)
- Sharps container for needle disposal
Step-by-Step Guide to performing a safe Blood Draw
1. Readiness and Patient Identification
Begin by verifying the patientS identity using two identifiers-such as name and date of birth-to prevent errors.Explain the procedure clearly to alleviate anxiety and obtain consent. Make sure all equipment is sterile and within reach.
2. Hand Hygiene and PPE
Wash your hands thoroughly and wear gloves to reduce infection risk. Ensure your workspace is clean and prepared for the procedure.
3. Applying the Tourniquet
- Place the tourniquet snugly about 3-4 inches above the selected venipuncture site.
- Do not leave the tourniquet on for more than a minute to prevent hemoconcentration.
4. Selecting the Venipuncture Site
- Generally, the antecubital fossa (inner elbow) is preferred due to accessible veins.
- Alternative sites include the dorsal hand veins.
- Avoid sites with scars,burns,or swelling.
5.Venipuncture Technique
follow these precise steps for a triumphant blood draw:
- Clean the site with an alcohol swab using a circular motion from inside out and let it air dry.
- Anchor the vein by holding the skin taut below the puncture site.
- Insert the needle bevel up at a 15-30 degree angle using smooth motion.
- Once blood begins to flow into the tube, fill the required tubes in order of draw.
- Release the tourniquet before the last tube is filled to prevent hemoconcentration.
6. Post-Collection Care
- Withdraw the needle smoothly and apply gauze or cotton over the puncture site.
- Apply gentle pressure to stop bleeding and prevent hematoma.
- Secure the bandage with adhesive tape or a plaster.
- Label all blood tubes properly with patient details, date, and time.
7. Disposal and Documentation
Dispose of used needles immediately into a sharps container. Document the procedure in the patient’s medical record,noting any complications or patient reactions.
Practical Tips for Successful Phlebotomy
- Always verify patient identity before beginning.
- Choose the most prominent vein that is easy to access.
- use a gentle but secure grip on the vein to prevent rolling.
- Practice consistent angle and depth for needle insertion.
- Be patient-rushing can cause complications like hematomas or failed attempts.
- Maintain open communication; reassure patients throughout the procedure.
common Challenges and How to Overcome Them
| Issue | Solution |
|---|---|
| Collapsed veins | Try alternative sites or apply a slightly higher tourniquet pressure. | Fainting or dizziness | Ensure the patient is cozy and seated; remove needle immediately if symptoms occur. |
| Blood flow slow or stops | Adjust needle angle slightly or reposition needle if necessary. |
First-Hand Experience: A Phlebotomist’s Perspective
Emma, a seasoned phlebotomist, shares her insights: ”Patience and communication are key. Always respect the patient’s comfort and don’t rush. Over time,you’ll develop a steady hand and confident technique,making blood draws quicker and less stressful for everyone.”
Case Study: Improving Blood Collection Outcomes
In a healthcare clinic, staff noticed frequent hematomas and collection failures. By reviewing techniques, increasing staff training, and emphasizing patient communication, the clinic reduced complications by 30% within three months. This highlights the importance of adhering to proper phlebotomy procedures.
Conclusion: Become a Confident and Competent Phlebotomist
Mastering the art of phlebotomy requires a blend of technical skill, attention to safety, and compassionate patient care. Following this comprehensive step-by-step guide will help you perform blood collection procedures safely and effectively, ensuring accurate results and patient satisfaction. Practice diligently,stay updated with current guidelines,and always prioritize safety. With time and experience, you’ll become a confident professional capable of performing high-quality blood draws that meet the highest standards.
Additional Resources
- Certified Phlebotomy Technician Training Programs
- Patient Communication tips for Phlebotomists
- Infection control Guidelines in Phlebotomy